Meal prep containers for small kitchens need to stack efficiently, store compactly, and fit in apartment-sized refrigerators. Random takeout containers and mismatched lids waste space and create chaos.
This guide covers the best meal prep containers for small kitchens based on space efficiency, durability, and practical use. Recommendations based on testing from Wirecutter and The Kitchn.
Contents
- 1 Meal Prep Containers for Small Kitchens: Key Features
- 2 Meal Prep Containers for Small Kitchens: Best Options
- 3 Meal Prep Containers for Small Kitchens: Organization Tips
- 4 Meal Prep Containers for Small Kitchens: Weekly System
- 5 Meal Prep Containers for Small Kitchens: What to Avoid
- 6 Quick Start Checklist
Meal Prep Containers for Small Kitchens: Key Features
Stackability
Containers should stack securely without sliding. Squared corners use refrigerator space more efficiently than round containers.
Nesting Storage
When empty, containers should nest inside each other. A 10-piece set should store in the footprint of 2-3 containers.
Lid Compatibility
Interchangeable lids reduce the “matching lid hunt” problem. Best systems have lids that fit multiple container sizes.
Material Choice
Glass: Heavier but stain-resistant, oven-safe, and lasts longer Plastic: Lighter but can stain and warp over time Silicone: Collapsible for ultimate space savings
Meal Prep Containers for Small Kitchens: Best Options
Best Overall: Glass with Snap Lids
Glass containers with plastic snap-lock lids are the gold standard for meal prep. According to Consumer Reports, glass containers outperform plastic in durability and stain resistance.
Benefits:
- Microwave, oven, and dishwasher safe
- No staining from tomato sauce or curry
- Lasts years with proper care
- Nests when empty
Drawbacks:
- Heavier than plastic
- Can break if dropped
Best sizes for small kitchens:
- 2-cup (individual portions)
- 4-cup (larger meals or sides)
Cost: $25-40 for a set
Best Budget: BPA-Free Plastic Set
Quality plastic containers work well for meal prep at a lower price point. Look for BPA-free, microwave-safe sets with secure snap lids.
Benefits:
- Lightweight
- Affordable
- Dishwasher safe
Drawbacks:
- Can stain over time
- Less durable than glass
- May warp in microwave
Cost: $15-25 for a set
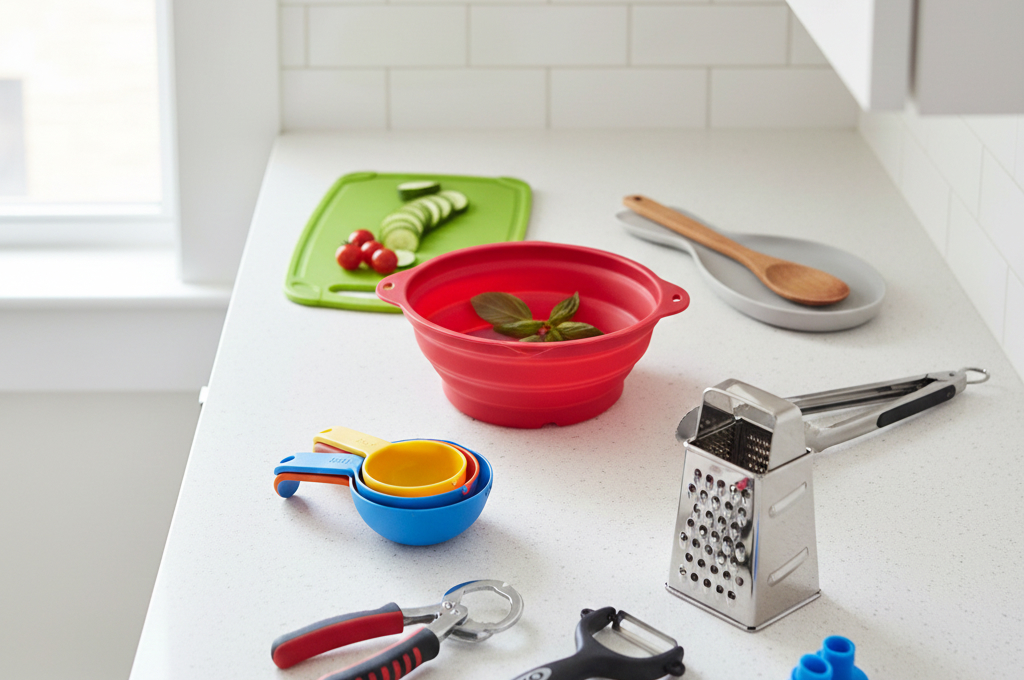
Best Space Saver: Collapsible Silicone
Collapsible containers flatten when empty. A set of 5 containers stores in the space of 1 traditional container.
Benefits:
- Minimal storage footprint
- Lightweight
- Flexible and durable
Drawbacks:
- Less rigid (harder to stack when full)
- Can feel flimsy
- Not all are microwave safe
Cost: $15-25 for a set
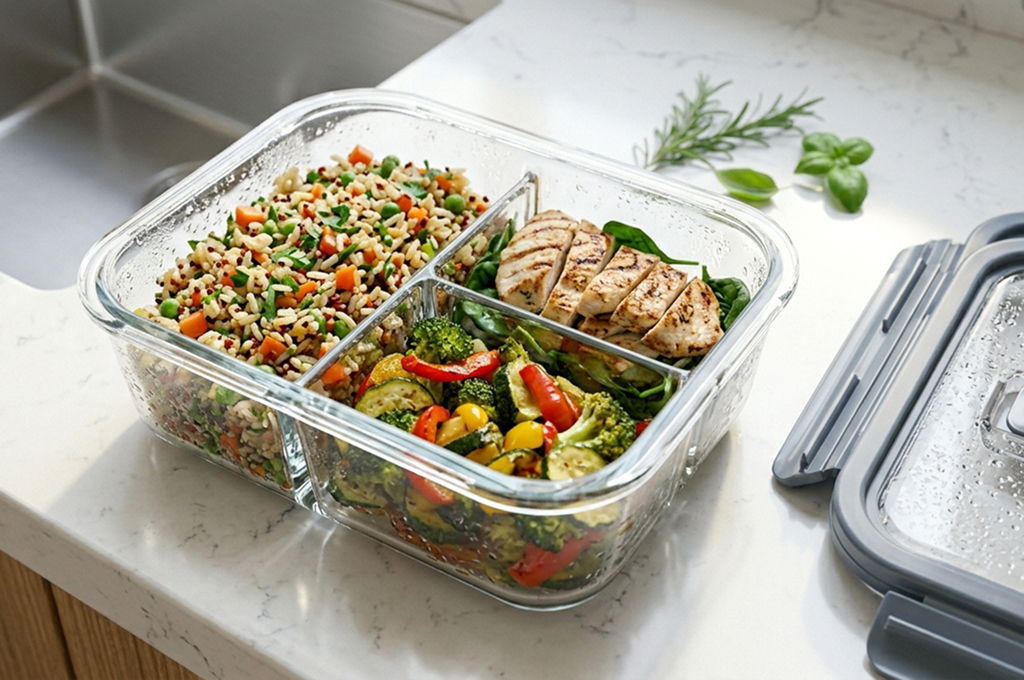
Best for Portion Control: Divided Containers
Containers with built-in dividers separate proteins, carbs, and vegetables. Ideal for grab-and-go lunches.
Benefits:
- Pre-portioned meals
- No food mixing
- Easy to plan balanced meals
Drawbacks:
- Larger footprint per container
- Less flexible for different meal types
Cost: $15-30 for a set
Best for Soup and Liquids: Leak-Proof Glass Jars
Mason jars or wide-mouth glass containers with screw-top lids handle soups, stews, and sauces without leaking.
Benefits:
- 100% leak-proof
- Great for liquids
- Doubles as drinking vessel for smoothies
Drawbacks:
- Round shape wastes fridge space
- Heavy
Cost: $12-20 for a set
Meal Prep Containers for Small Kitchens: Organization Tips
The One-Drawer Rule
Keep all containers in one drawer or one cabinet section. If containers overflow beyond this space, you have too many.
Lid Storage Solutions
Option 1: Store lids in a separate bin, organized by size Option 2: Store each container with its lid attached Option 3: Use a door-mounted lid organizer
Cost: $10-20
Match Container Shapes
Stick to one shape, square or rectangular, for efficient stacking. Mixing round and square containers wastes space.
Limit Your Inventory
Most households need:
- 4-6 small containers (1-2 cups)
- 4-6 medium containers (3-4 cups)
- 2-4 large containers (6+ cups)
More than this creates clutter without adding value.
Meal Prep Containers for Small Kitchens: Weekly System
Sunday Prep Routine
- Plan 4-5 meals for the week
- Cook proteins and grains in bulk
- Prep vegetables (wash, chop, store)
- Portion into labeled containers
- Stack in fridge by day or meal type
Fridge Organization for Meal Prep
Dedicate one shelf to meal prep containers. Stack by day:
- Monday lunch in front
- Tuesday lunch behind
- And so on
This system ensures you grab the right meal without searching.
Label Everything
Use masking tape and marker or reusable labels. Write:
- Contents
- Date prepared
- Eat by date
Most meal prep lasts 4-5 days refrigerated.
Meal Prep Containers for Small Kitchens: What to Avoid
Mismatched Sets
Random containers from takeout, old purchases, and gifts create chaos. Consolidate to one matching system.
Containers Without Secure Lids
Containers that leak or have loose lids cause messes and food waste. Invest in secure snap-lock or screw-top options.
Too Many Sizes
Five different sizes means five different storage challenges. Stick to 2-3 sizes maximum.
Containers You Do Not Use
If a container has sat unused for 6 months, donate it. Dead inventory takes space from items you actually need.
Quick Start Checklist
Week 1: Audit current containers. Discard cracked, stained, or lid-less items.
Week 2: Purchase one matching set (glass recommended, 8-12 pieces).
Week 3: Implement one-drawer storage system with lid organization.
Week 4: Start Sunday meal prep routine with new containers.
Related:
- Small Fridge Organization Ideas
- Best Kitchen Organization Ideas for Small Apartments
- Nesting Bowls Review
This post contains affiliate links. See our disclosure for details.